That certainly cut down the time it took to get all the rooms painted, since we didn't have to channel our inner four-year-old to pick colours for the rooms. The first coat in most rooms was a joint effort between my mother and me, but the second coat - after a round of sanding to smooth out some of the blobby bits - was all my mother's work.
Something that became apparent during the painting was that much of the hardboard must have been recycled because it's riddled with nail holes which needed filling. What was interesting about the painting was that, while the paint liked to fill the holes that had been drilled for the ceiling light fittings, it never did quite such a good job with the nail holes - they ended up with some Polyfilla spread over them.
It's quite amazing what a coat of simple white paint does for the interior... Not only does it look brand new, but it's brighter (even compared to when it was papered inside) and possibly looks larger. This effect should be enhanced when the window holes are enlarged for the new window frames...
 |
| Front of house - rear walls removed (so the top right room needn't have had the rear wall painted) |
 |
| Back of house. The top right room is currently planned to be the bathroom, and the bottom right room as the kitchen |
 |
| The landing and the handrail around the top of the staircase |

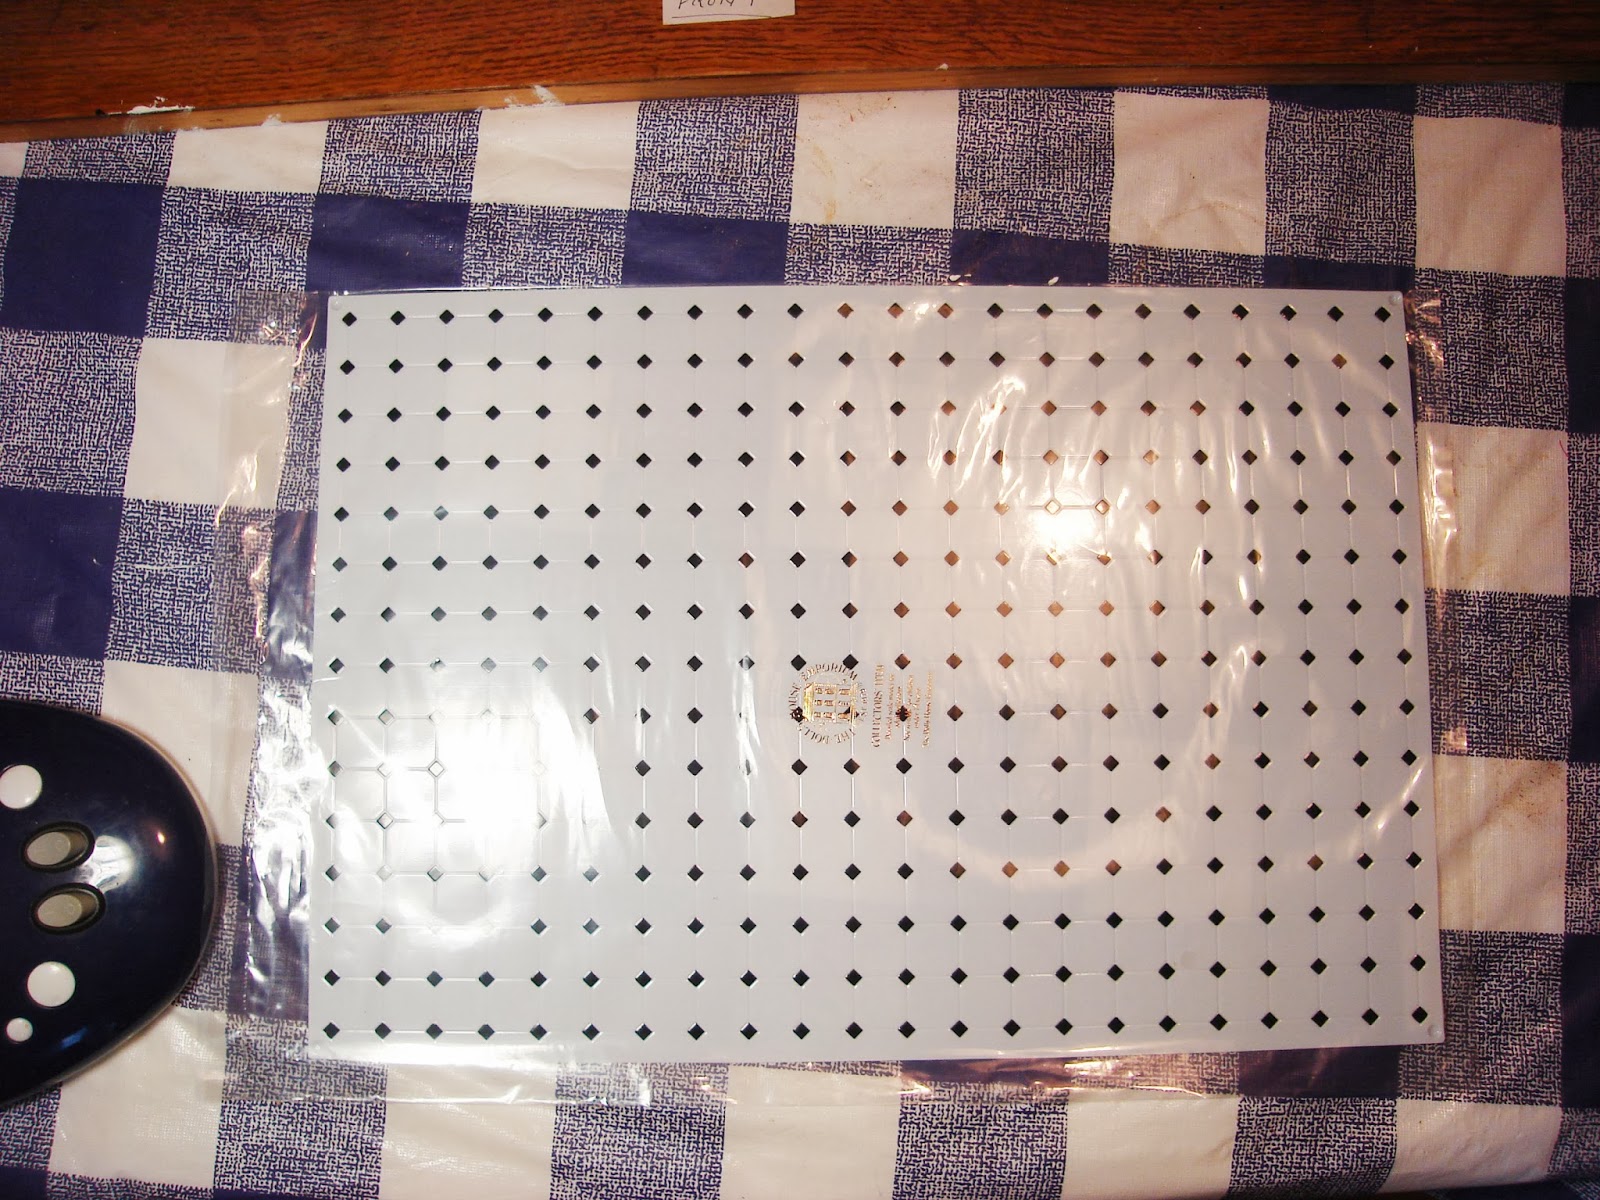


Since it's difficult to know how these sorts of things will look in situ, I took the above photos of all of the samples in order to do a quick, rough Photoshop job on the front of the house. This isn't an example of how the finished house is going to look (for one thing, the bathroom will be at the back of the house, not the front), but it was enough to convince my mother that she wanted the whole bathroom 'tiled', not just the floor. The kitchen will likely only have a tiled floor, but that remains to be decided.

Along with the carpet samples, my mother ordered a strip of the yellow carpet for the stairs. This was the first piece of carpet to be installed, though it needs a bit of trimming to fit it around the handrail posts at the top and bottom of the stairs.
I've been saying all along that the dolls' house is going to look fantastic once it's finished but, even at this early stage, one can begin to see its potential. The only worry we have about the décor stems from my sister's concerns that her daughter may be at the stage where she'll scribble on anything (because that's apparently what one of her schoolfriends does)... but based on my experience of the precocious young 'un, she tends to scribble on paper more than objects (and it tends to be only paper she's been given for the purpose rather than random scraps), though I have to admit I don't see her often enough to be certain that my experience counts for much.

