One of the coolest aspects of the dolls' house my father built was that,
like a proper house, it was fully wired for electricity. I don't just mean that it had
lights, I mean it had
individually switchable room lights as well as a set of wall sockets in the lounge, enabling my sister to plug in
extra features, including a miniature TV and a free-standing lamp.
Originally, this was accomplished by running wires from the lights, via a switch embedded in the back wall of each room (
in the ceilings for the hallways) up to a junction block in the loft. The extra sockets in the lounge were on an entirely separate spur,
without a switch, which also connected into the junction block. From this block, a single power cable was fed back down through the
bottom of the house and out to a mains transformer,
kept safe from prying fingers in a large metal box affixed to the base, outside the house.
For its time, it was a pretty good solution but,
to a perfectionist like my father, sprucing up the rest of the house was an opportunity to re-do and
improve all the wiring. All of the light fittings were being replaced, and the new fittings came with surprisingly
long wires ending in their own individual plugs. Rather than wire them in fully, as originally, it seemed most logical to take advantage of this more modular approach and have all the lights plugged in to a fused socket strip (such as
this one) in the loft, which would then connect to the mains via a new,
smaller transformer.
This raised some very important questions, though. If the lights were going to be '
plug and play', would they still need
switches? Was there really any necessity to have light switches
at all, considering it was "
just a dolls' house"? Would it not be
acceptable for all the lights to be either on or off, dependent only on whether or not
the house itself was plugged in and switched on
at the wall?
Well, if my father tends towards
perfectionism, I have a tendency to insist on
the most impressive and complicated option available, if only because
making it happen is more satisfying. Besides, that's how it was
originally, and I saw no reason to
downgrade that feature. Wiring in the lights would be
easy... adding the switches
into the wiring supplied with the lighting set would be
fiddly... but the end result would be all the better for it.
Step 1: Making Ready
With all the
technical decisions made, the first thing that had to be dealt with was
the rather excessive lengths of chain attached to some of the light fittings. Since the house is two-storey, the ceilings aren't especially
high and, straight from the packaging, the light fittings dangled
pretty much half way to the floor. The solution was easy enough: yank the wire
through the part that attaches it to the ceiling until the lamp hung at a more
sensible height...
then shorten the chain. This was accomplished with fine-tipped pliers, and the discarded links stashed in a handy plastic pot in case they came in handy for something. Some of the light fittings ended up having the
entire chain removed, leaving only the two larger rings from either end.
 |
| You can see clearly that there was a huge excess of chain |
 |
| As far as I know, we never did find a use for the chain |
 |
Most of the light fittings gained about 3-4cm of wire
once they reached a more suitable size for this house |
Some of the additional light fittings we bought later,
such as the chandeliers for the lounge, were fitted with rigid metal tubes rather than chain, so they
weren't shortened.
Step 2:Exploratory Work
Next we had to ensure we had a suitable length of wire - each of the fittings seemed to have a heck of a length, but if we needed to order
more, we ideally needed to know
before we made a start on things, as the availability of wire
might determine how some aspects of the wiring were accomplished. The socket strip,
being the hub for the rest of the electricals, was installed first, up in the loft. I place it on the framework of the roof simply because
that was the smoothest surface available... but then it struck me that the socket strip would be in the way if we wanted to add
another floor in the loft. My father reckoned it'd be possible to work
around it, though, and we all agreed that this was about the
only sensible location for the sockets.
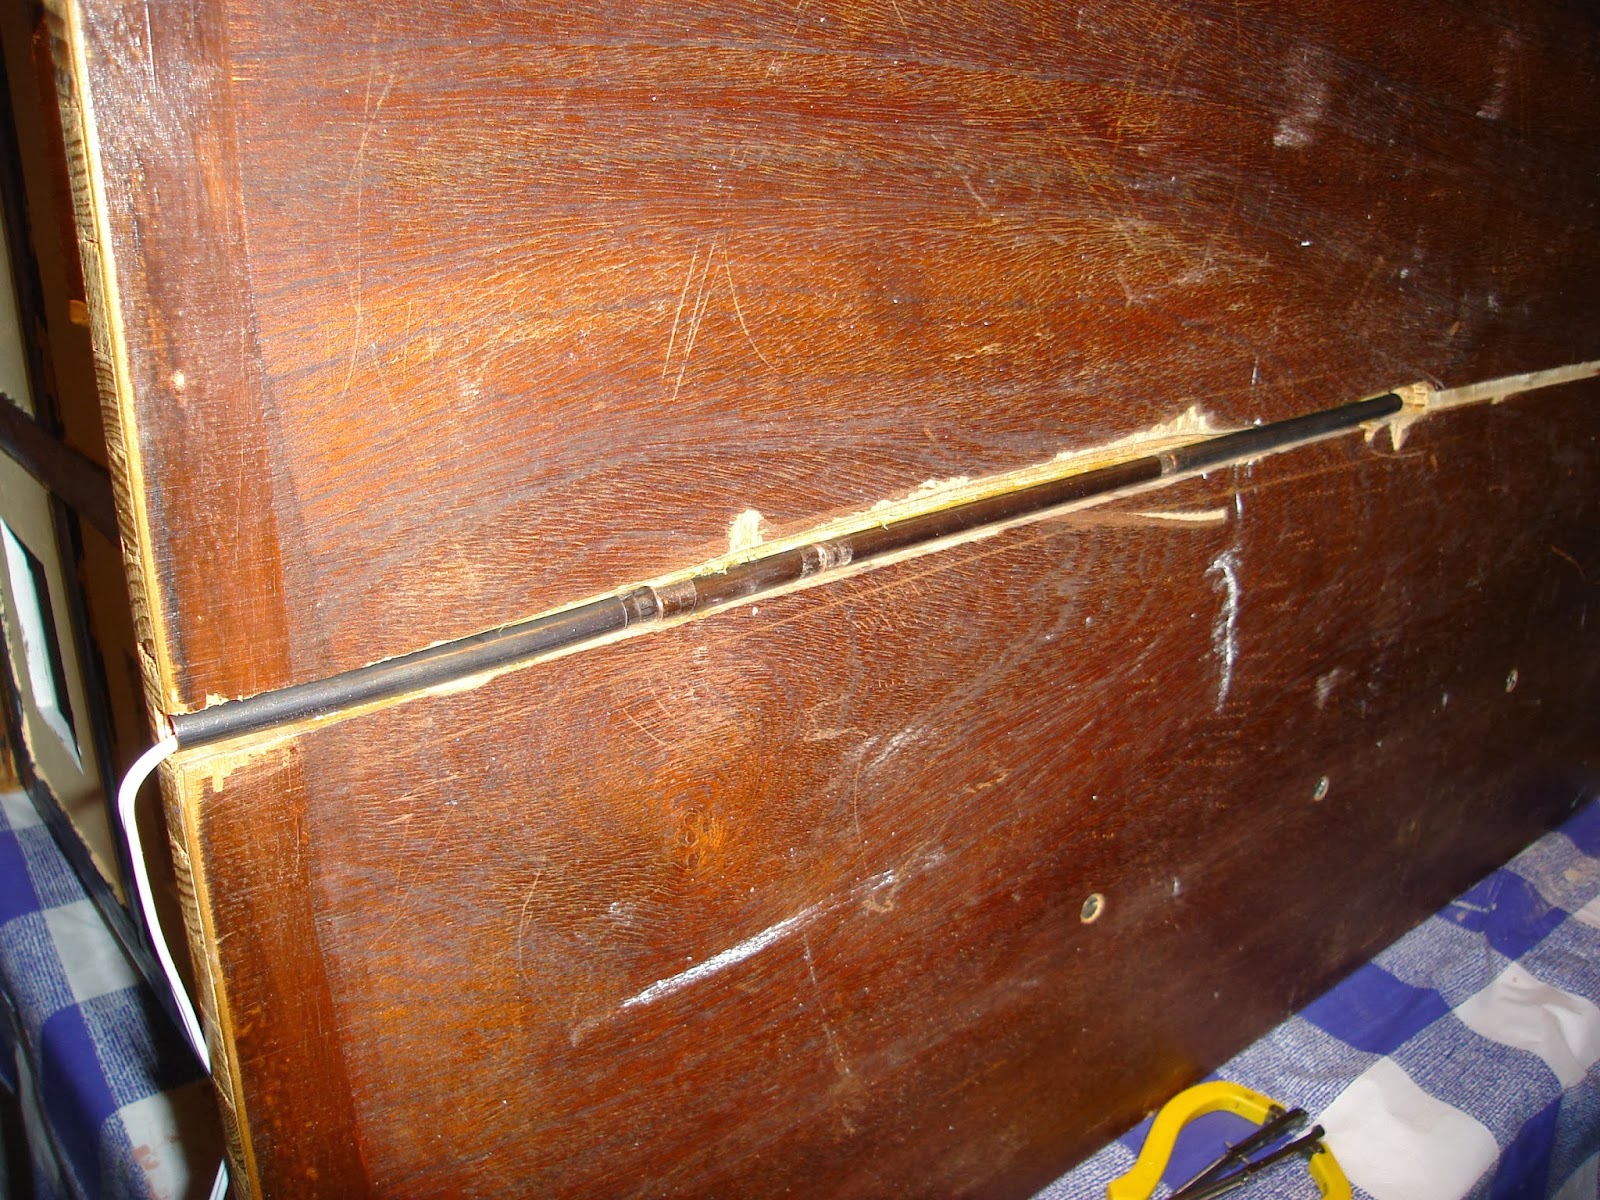
Next, it's trailing cable was fed
down through the house - seen below in what
would be the cavity between walls at the front and back of the house...
At this point, the existing connectors at the end of the wires -
a pair of forked connectors, intended for screwing down to something - had be to
removed. First and foremost, they weren't
needed for what we were doing. Even if they
were, though, the wires had to be fed through a small metal pipe embedded in a slot cut out of the base - one of the many improvements my father made to the model.
Originally, there was only
a very shallow groove cut out, and the trailing wire tended
not to stay there. Since the intended recipient of this refurbished dolls' house is
far younger than the original owner was, safety is a greater concern. This pipe keeps the wire in place and
reduces the likelihood that it would be pulled just through moving the model around.
The trailing end of the wire was attached to a
new socket, into which the power feed from a newer, smaller transformer can be plugged. The transformer then plugs straight into the mains.
Step 3: Choices, Choices...
All of the lights then had to be assigned a room. This turned out to be
quite tricky since most of them came from a
multipack containing a variety of styles... some of them
didn't really fit anywhere (being a bit too 'traditional' or old fashioned) and there wasn't a single
matching pair among them, so we had to be both pretty creative
and open to compromise. Once their locations were decided, their plugs were stripped off and their wires fed through into the roof. Removing the plugs was incredibly easy as their construction is very
simple - pluck out the pins and the wires are
loose, they can be pulled out without effort.
At this point, there was more than enough slack on all the wires for them to
reach the roof area, but we were still in some doubt as to whether they'd all stretch
to the sockets... Some of them almost certainly
wouldn't but, for the time being, all the wires were taped in place, with
some slack, just to keep them in the loft.
The socket strip has twelve sockets, sufficient to cover the light fittings
and the additional sockets for the lounge. It
also features a power switch of its own, a fuse and a small light that goes on when the fuse blows. This would make diagnosing any future lighting failures a bit easier, since if only a couple of lights won't work, we'll know that the
bulbs need replacing, but if
nothing works, it's more likely to be the
fuse.
In the original house, both the ground floor
and the landing each had a single ceiling-mounted light fitting. This led to the area
behind the staircase being in shadows and, since we had a spare
wall-mounting lamp, I figured it'd be cool to use that to light the area behind the stairs.
By this point, however, carpet had already been fitted to the staircase, and my father was concerned that the wire would have to trail
over the carpet to get to the point where all the wires feed up into the loft.
Undaunted, I gave it a go. It was simple enough to feed the wire through the gap between the wall and the staircase, while the carpet was able to cover over and keep the wire in place for the short distance between the top of that gap and the top of the staircase. Not a
perfect solution, maybe, but it
should keep the wire from being played with by
a certain precocious youngster.
 |
If you look closely, you can just about make
out the wire hugging the wall on the left at
the top of the stairs... |
 |
Obviously the lamp will be the right way up
when it's mounted on the wall... |
The extra socket block would replace of the original,
roughly halfway through the lounge, at the bottom of the outer wall. Considering the route it would have to take,
up to the first floor then through into the room where all the wires come together to access the loft, it was pretty obvious that there wasn't going to be enough wire to fit it
immediately. Attaching it to the
inner wall might have improved matters, but additional wire would,
eventually, become necessary to complete the project in any event.
Step 4: Soldering In
Since we were keeping the individual switches for each light fitting, we needed to insert them
into the existing wires. This meant cutting
one of the two wires feeding each light, stripping back some of the insulation, soldering in the switches we'd taken
out of the
original wiring, then fitting the switches back into the
walls. It
sounds pretty simple, but working within the constraints of
a house that was already built and could not be easily disassembled
beyond a certain point, the
practical side of things was tricky. First and foremost, we knew that
some part of the original system was
faulty because some of the lights didn't work when the house was first brought out of storage. Blown bulbs were the
obvious culprit, but some time spent testing the switches with a multimeter suggested that some of
them were also faulty.
If a two-position switch doesn't have a position where its resistance reads as something other than 'infinite', that means there's no longer an 'on' position.
Next up, due to the
positioning of the light switches -
on the rear wall of each room - the wires from each room had to loop
down from the ceiling to the switch
before heading up into the loft. This reduced the length of wire available to reach to the sockets. The wires had to be cut
reasonably precisely to patch in the switch with enough
slack that the switches could then be easily attached to the walls. The switches we used are a fairly basic type which come with a threaded area at the base of the switch and a nut to hold it in place. The drawback we had was that, with the walls made out of
hardboard, the holes had to be
widened at the back to allow enough of the threaded section to pass through for the nut to even
attach, let alone attach
securely.
The switches had initially only been
roughly clipped out of the original circuits so, before they could be soldered in to the
new system, the remnants of the
old wiring had to be removed. Here's where things get
tricky, because excessive use of a soldering iron can easily
damage small components like these switches. I volunteered to
start the soldering, just to see how fiddly it was. To begin, I wound the wires
through and around the contacts so they'd at least
stay connected while I
attempted to solder them together. Trying to work around the walls was difficult - the wire had to be held
away from the rear walls so I could reach them - and, at one point, I even tried sticking the soldering iron in
through the side window to get a good angle for working. The trouble was, I need two hands free for soldering - one to hold the
iron, one to hold the
coil of solder - meaning
I had no hands free for holding the switch and wires away from the wall. Since there wasn't enough space to have
someone else hold the switch while I was working, and attempting to make the joint while
someone else held the coil proved next to
impossible, I ended up balancing a kind of lever (a screwdriver or similar tool) on one of the window frames. Very delicate, but it just about worked...
eventually.
It took a lot longer than it
should have done, but I'm not exactly
experienced with soldering under
good conditions, let alone inside a tiny room in a dolls house.
Eventually, though, I got there...
One switch down,
eight more to go!
 |
| One light switch, soldered into place! |
Before proceeding with any
others, however, I just
had to fix the switch into the wall and give it a try. Would it
blow the fuse immediately? Would the switch turn out to have been too badly damaged by my
fumbling attempts with a soldering iron? Would there be
smoke?
Fire?
It worked! It was pretty cool to see the room lit up but, in spite
of all the
strife I'd had with the soldering,
I'd been dealing with one of the easier
fittings, onto one of the fixed walls. Adding switches to the walls
that had been
removed was going to be far more difficult... However,
in between this visit and the next, my father completed the rest of the wiring.